Screenshot

SerialHeader

Designed for macOS, iOS, and visionOS 26. Requires macOS 14.6, iOS 17.6, and visionOS 1.3 or later.

Instructions

How to use SerialPlotter and SerialBridge.
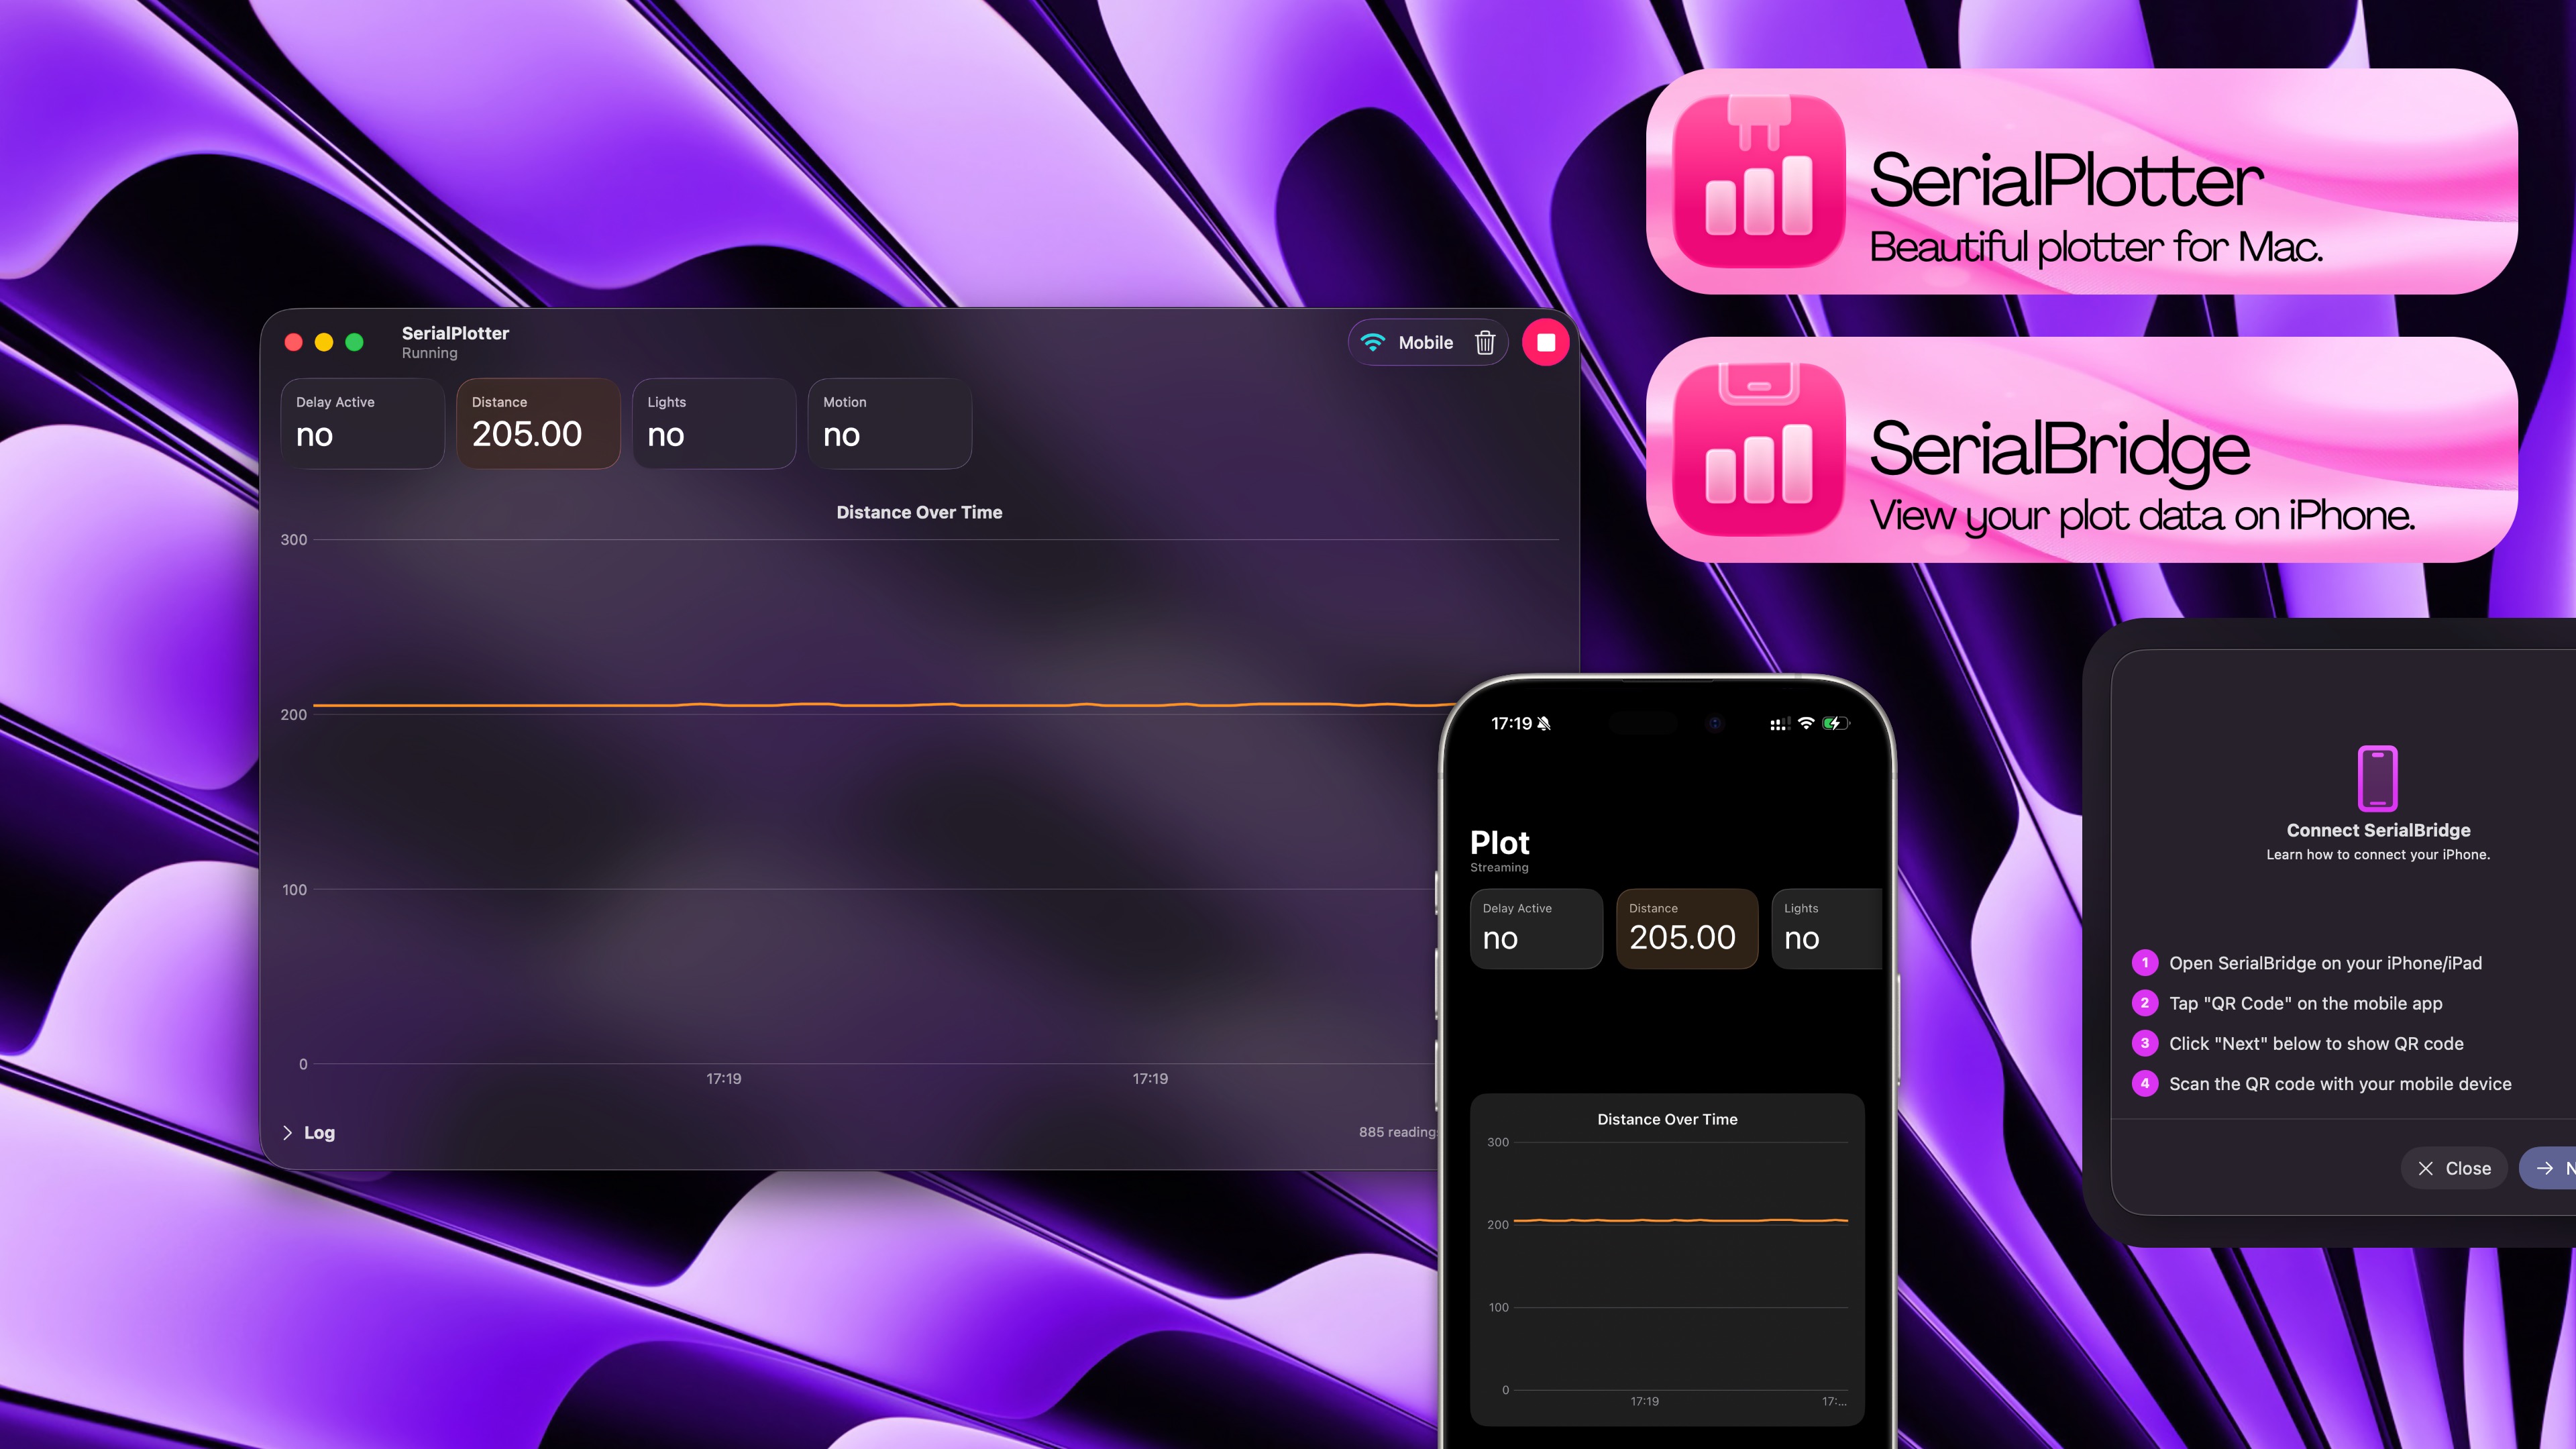
 SerialPlotter

SerialPlotter

How to use SerialPlotter:
1

Start with an Arduino Project

Create an Arduino project.
2

Initialize the Serial

void setup() {
  Serial.begin()
}
3

Print your Logs

Use this format: SomeKey: 6969 | AnotherKey: 4242Example:
Serial.print("Charging Rate: ");
Serial.print(currentChargingRate);
Serial.print(" | New Charge: ");
Serial.print(newCharge);
Serial.print(" | Battery: ");
Serial.print(batteryChargePercentage);
Serial.print(" | Charging: ");
Serial.print(charging);
Serial.print(" | Light: ");
Serial.print(String(lightOn ? "On" : "Off"));
Serial.print(" | Dimmer: ");
Serial.println(String(dimmerPercentage));
4

Run your Code and SerialPlotter

  • Connect your Arduino to your computer
  • Upload the code to it
  • Open SerialPlotter and click ▶︎ on the top right
  • Enjoy!
SerialBridge

SerialBridge

How to use SerialBridge:
1

Set up SerialPlotter

Follow the SerialPlotter instructions first to get your plot ready. Then,
  • Click the “Mobile” button in SerialPlotter.
  • Click “Next” in SerialPlotter.
2

Connect SerialBridge

To access your plotter data, either:
  • Open the SerialBridge app and click “QR Code”, or
  • Simply scan the QR code with the Camera app.
You should see your plot, with the option to see the raw logs as well. If nothing happens, you may need to try again.

Credits

Thanks to:
I